
Halloween Jack-In-A-Boxes For Under $2

Okay. I'm running a little late on Halloween. (As the lack of creativity should show, as I didn't doll up my kiddo's hair in the pics, nor did I create this beautiful vignette to display this project. I just hurriedly got it done so I could post it on here!) But this is nothing new though. In fact, I still have a gingerbread kit from last Christmas that was going to end up as a candy heart village for Valentine's Day, an Easter Village a few months later, and now it looks like it'll end back up as one for Christmas again. (Fortunately, it's still intact and nothing has molded!)
Anyways, this project for my kiddo is something that I've been planning to do for the past month, but haven't gotten around to do yet, since other things keep getting in the way. (Like that couponing thing I was mentioning!)
However, I "pinky" swore to my daughter that we would do it today, on the account that her room got cleaned up. (Yeah-- right!) So, while she's supposedly in her room-- cleaning right now (aka, watching cartoons, where I'll say "can I check your room" and she'll reply "not yet! I'm almost done though"), I'll blog how this project turned out. (It's really quick, as it only took us about a half hour to put all this stuff together.)
First of all, you'll need these supplies~
 |
- 3 Craft blocks (They usually sell three for $1.)
- Paintbrushes or Spongebrush (With a 5-year old, I learned the spongebrushes work best.)
- Construction paper
- Acrylic Paint (Which usually runs 2 for a $1.)
- Glue stick and/or double-sided tape (not shown, because I forgot to include it in the photo)
The first thing you want to do, is paint your blocks. Acrylic doesn't take that long to dry, so they'll be holdable after about 10 minutes.

 |
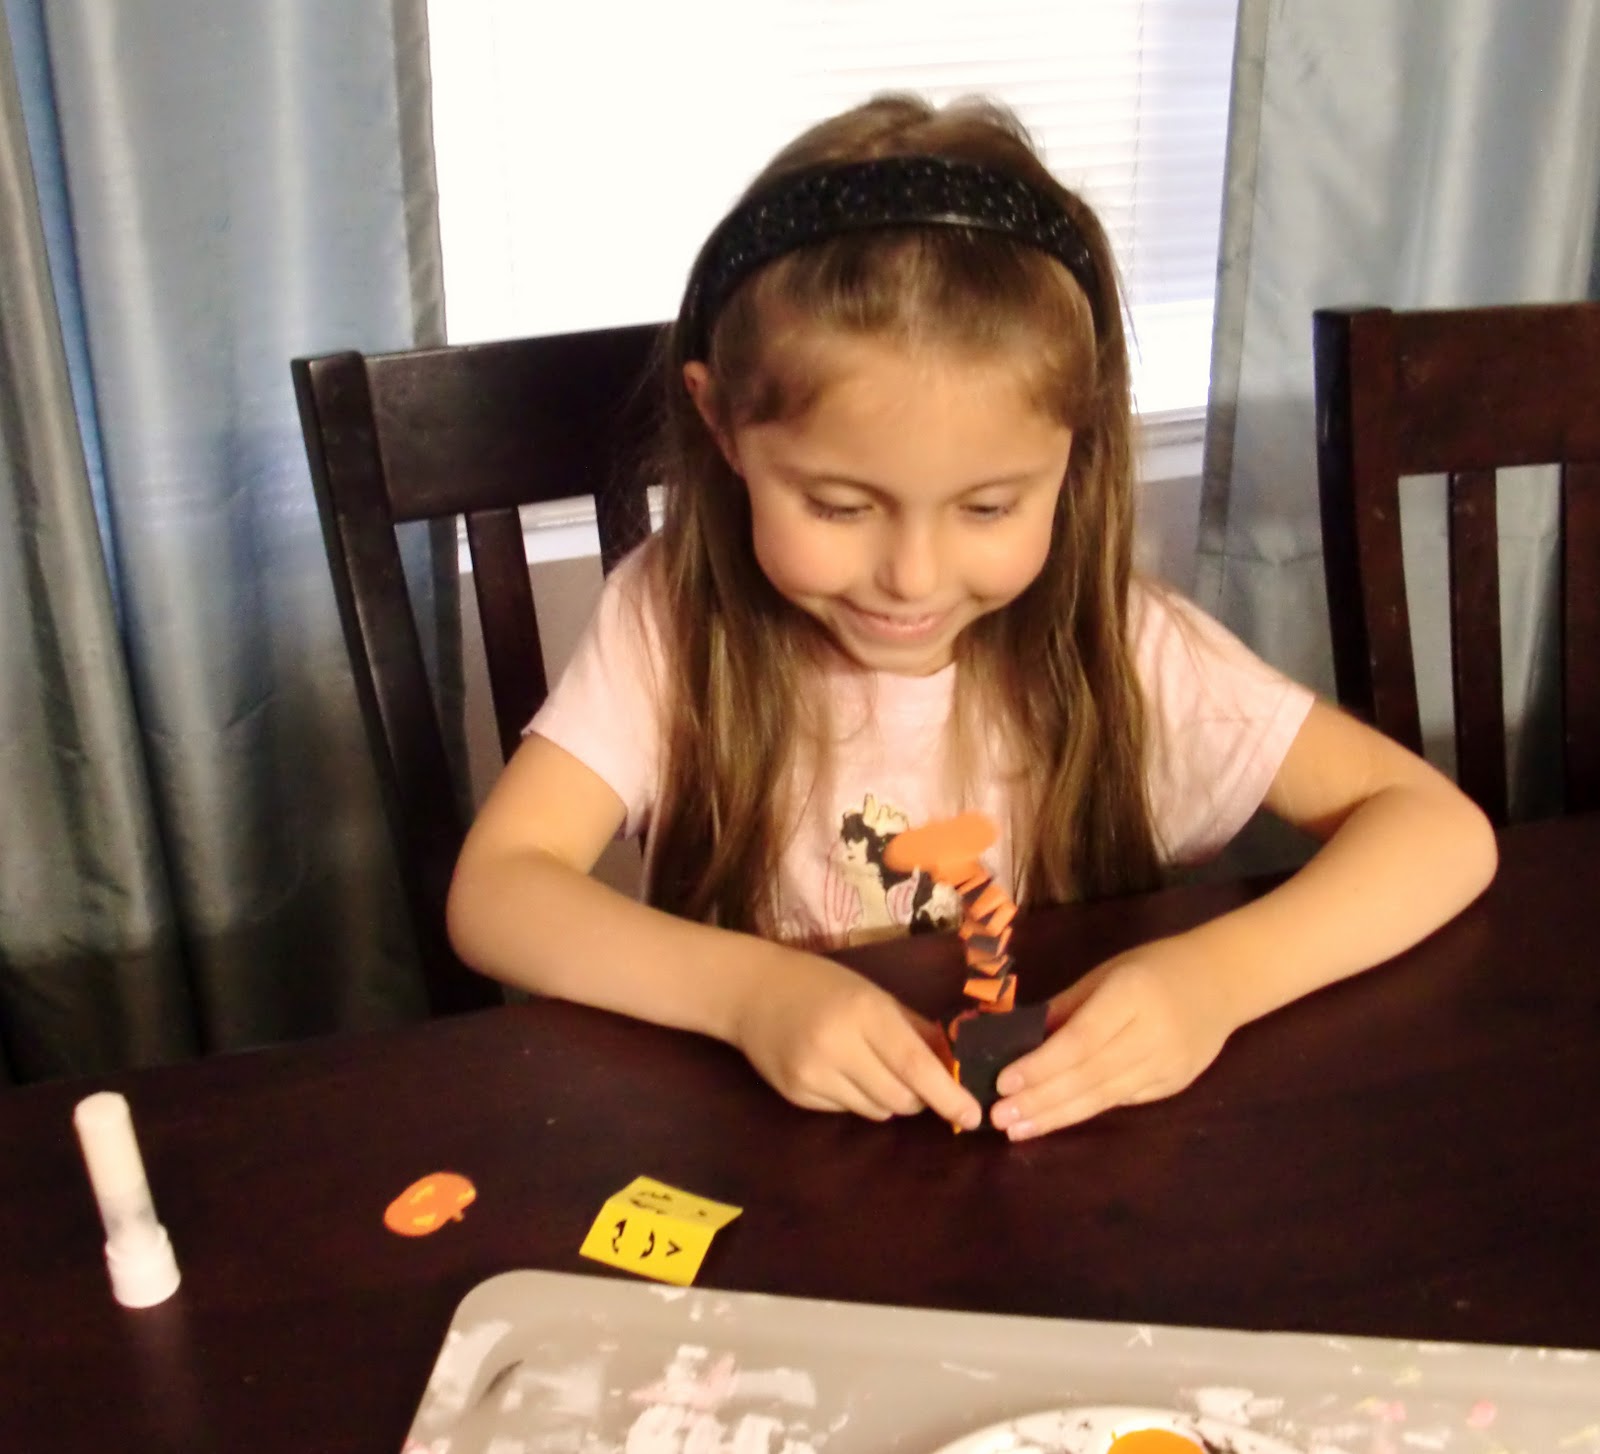
| I'm surprised she wanted to participate. Usually, she's concerned about getting her hands dirty. |
While you are waiting for the paint to dry, cut out two strips of paper (about 1/2" wide, and the entire length of the piece of construction paper (11.5"). Using a glue stick (or double-sided tape, to avoid frustration), make a "V" like this:


And overlapping back and forth, keep going, until you reach the end. (You might need to trim off a little excess of paper at the end.) Fasten with the glue, or the double-sided tape, and you should end up with this~

 |
| Such a dorky smile! "No. It's not an accordian for your Barbies!" |
Afterward, cut out shapes (like ghosts, pumpkins, bats, etc.), making sure that you leave a tab at the bottom, to fold under and glue to the 'spring' that you just made~
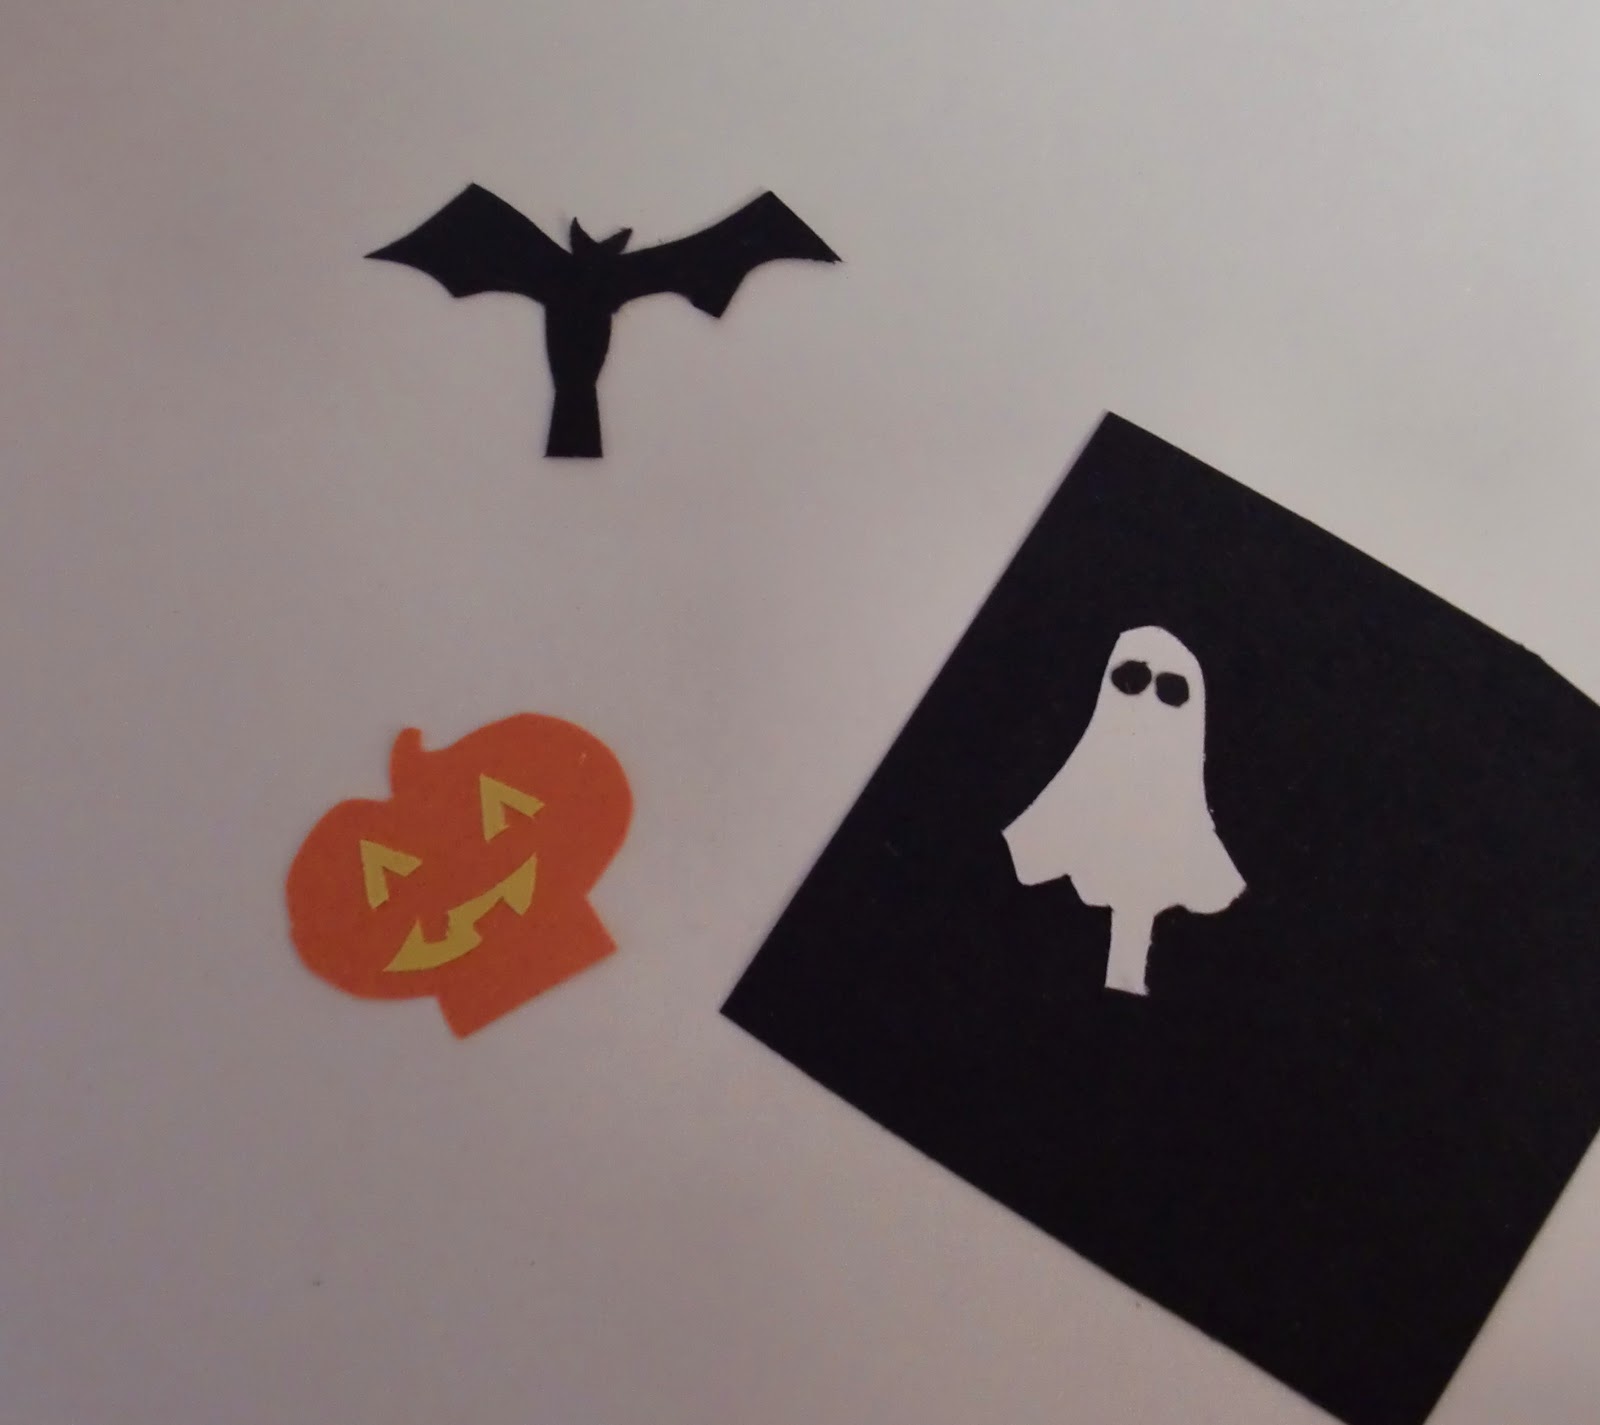

Since this is a project for my 5-year old, I can't get all elaborate, making these darling, like something you'd see from those vintage decorations from the 1900's, etc. So because of that, I have to make this project as simple as possible.
To make the lid, get a piece of construction paper, and cut a rectangle that can be folded over. (Cut it to the size of the block, of course.) I had a hole puncher, so I just punched out a couple holes from the other paper, for my kiddo to glue on.


And, when you've got the lid attached (through a rubbed on dab of glue stick), glue the bottom of the spring, and attach to the block~
And look at the insane joy this can bring to a five year old child!
Happy Crafting!

Not George Michael's Different Corner, But Good Enough!
So today, I went venturing all over, looking for something to fill the corner of my apartment's kitchen. I was tired of seeing my husband's coffee stuff all over the place, and was on the hunt for a more organized look, than what I had going on here~
 |
| You can't see the right corner very well, but it consisted of my mother's 50 year old spice rack, and all of his coffee stuff that he piles in the corner. And P.S.-- I got rid of those ugly lamps! |
I went to IKEA, where I saw some shelving online for a cheap $6. However, when I got there, I realized that the length was much too long for what I was looking for, and that they didn't have anything else there that was shorter.
Then, I went to Home Depot. I found some crystal knobs that were about two weeks too late for another project, but that was it. (When I had asked an employee about where to find wall shelves and brackets, he pointed me to an area of the store where I could hear someone sawing something. NOPE!-- not wanting to make a big project over something I didn't want to spend the entire day on.)
So, as a last resort, I hit my local Craft Warehouse. (The more I look online, it seems that the closest thing that comes to it, is some place called Hobby Lobby, for those of you who don't have a Craft Warehouse.)
No shelves. Nothing that could clean up that corner, making it look a teeny tiny bit like Central Perk from Friends. But I found a couple little plaques, that were just the right size for the shelves that I wanted. And then I picked up some wrought iron hooks, that I mistook for brackets~
 |
| I still need to stain them, but they work, yeah? |
 |
| Just the right size for the small wall space! |
Overall, it cleans up the clutter. Eventually, I'd like to get some kind of coffee and tea canisters (like something below), to put on the counter (as I only used the cake stand-- and the muffins I just finished-- at 11:30pm), for this photo's sake.
 |
| I saw this at Target, but opted for the "Oh Snap! I forgot!" Missoni sale that hit the same day instead, getting my 5-year old a dress that sucked up my-money-for-the-rest-of-the-week fund. |

First of all-- COUPONING! However, when your dreams of saving millions of dollars are quickly dashed (as you realize that sites require you to download their 'printers' where a box then comes up, saying that your settings are blocking your 50-cents off International Delight Creamer coupon from printing (and you don't know how to reconfigure something called Java), you look for other things to do with it instead.
The other day, I went out and purchased an HP Series 2050 printer for $39.99. (There was another one that was $29.99, but I thought I'd get a more deluxe model.) After nine years sans printer, these things have changed! As in scanning! I didn't know these things could do that now. So I was scanning old pictures and printing them out, and all of these other things. And then...
I ran out of ink.
But that was alright. Yesterday was my birthday, and my husband (who didn't do anything for me this year-- just like last year, when he went out shopping with his mother that day... oops. Sorry. That would be under the 'ranting' tab I have on here. But really. I've been wanting a Coach purse for the past five years. And here he was last night, eating a hot pocket in front of the tv, which signaled no birthday dinner...), could buy me a $13.99 replacement cartridge). So all's well at the moment. (That is, until the color cartridge starts giving me issues.)
Anyways...
I'm trying really hard not to make my place go down 'Scrapbook Alley'. But it's hard, when I've got all this extra paper and whatnots on hand, and then come across a loose board in a box (when my husband got bored, and tried a 20-minute stint at woodburning a couple of years ago, and it didn't turn out like the masterpiece he thought it would).
(It was similar to that depicted below, but a rectangular one. I just didn't take a pic of it, because my camera was dead, and like I mentioned it was part of my husband's project, where there was a goofy looking picture of a rabbit and a duck that he attempted, before tossing the $40 purchase in his toolbox and never touching it again.)
But I painted the edges of it, and used some of that Martha Stewart decoupaging glue to fasten a sheet of scrapbook paper onto it. Having done so, I wanted to add a printed picture of something I got off of an art site. However, it just didn't look right, and I peeled it off-- taking pieces of the $1.99 scrapbook paper off with it! I didn't fret though-- if you look at it, it's starting to give off a shabby appeal-- like peeling vintage wallpaper:

After finding and printing off a piece that I thought wouldn't look too bad, I proceded in decoupaging tissue paper (to match the blue in my home), onto the white areas of the paper. Then, I went on, decoupaging the print onto the board:


You can go the next level up, and apply that lacquer glaze (that they sell for about $10 and up). But since I haven't attempted anything like that yet, I am not really ready to try on this project. (I might later on.)
But just an idea of what to do with some leftover whatnots...

My Husband Probably Isn't Going To Like This Very Well...
But that's okay-- because the only time he's in the kitchen, is when he's heating up a hot pocket, or going to the refrigerator for something to drink.
As my other posts state, I live in an apartment, where (unless you are living in a condo), you can't really do any serious demolition and remodeling to keep up with your friends on facebook with. Because of this, I've had to endure a few years of apartment depression. For those of you who have caught it, you know the symptoms. Trying really hard to emulate something out of the latest Pottery Barn catalog. And then on a drag-along trip to the Salvation Army (I'm just using that store as an example, to illustrate my point), you've realized that their store has a vignette with beauty and creativity that surpasses your spent-all-my-tax-refund-money-at-Walmart (because you thought by cutting corners you'd be getting ahead with a few bucks leftover), and-it-still-looks-like-crap college try!
So, for the past few years (-- actually, since 2005), I've had this setup above my stove~
 |
 |
Here are the supplies needed~
- Frame with glass insert
- Stencil (if preferred-- or you can use whatever you want to embellish it with. I was in a hurry-- so I just did what I did)
- Sponge brush and acrylic paint. (You can probably use any other media, such as pens made from glass, glass paint, or even those vinyl stickers (which are expensive! Something like $6!), etc. Being that I had black acrylic around (and it's ERASEABLE like a dry erase board-- perfect for people like me who can't make up their minds), I decided to use that.)
- Adhesive (I chose to use rubber cement, in the event that I ever decided to change my mind on the background and needed to take it off gently.)
- Any kind of embellishment or border for the frame (if you are not going for the minimalist approach. I happened to have some border stickers in a scrapbook, so I decided to use those).
 |
|
 |
| If anyone is wondering about the scrapbook paper, I took a closeup shot of the label. |
Okay. First what you need to do, is cut your paper to fit the area of the frame. DO NOT glue anything down at this time. Flip your frame over to the backside, and place over the paper, to find your center point for your stencil.

Tape your stencil onto the back of the glass, and with a LIGHT dab of paint on your sponge, tap at the stencil, being careful not to cake it onto the glass. (If you do, it will smear all over the place, and you will have to wipe it off and start over again!)

 |
| Lift the frame now and then to see your progress and if you missed any areas. |
 |
| When you are finished stenciling, you may want to go over with a cotton swab (with the bulk of the tip pulled off-- for precision), and take off smears here and there. Personally, I was thinking that it was had a vintage 'stamped' look going on. |

Flip over to the front, and apply your border, or whatever embellishments you would prefer. (Sparkles, etc. But as I said, my husband probably isn't going to swoon over this, and I don't think adding hot pink rhinestones would make him change his mind any more!)


This project took me less than ten minutes to complete, and for the look, it's not too bad!
I Don't really cook, so why i even have one of these...

Since starting this blog, I've realized that in order to get some traffic onto my page, I need to well... actually do some things. Right now, my husband's asleep with a humidity-induced migraine, so I'm sure he'll appreciate waking up to the fumes from the paint and varnish, wafting into the back room on top of a 90 degree forecast! Again though-- oh, well!-- I need to get this thing going! :)
 |
| (Nevermind the paperpunch thing-- it's from another project.) |
For the past year, I've had a plain, hinged box, specifically made to hold recipe cards. I've never known what to do with it (as far as finishing and decorating it went), and because of that, it's been left, unfinished on my kitchen counter. And as the title states, I don't cook that often. (I usually let the microwave do it for me!) I do though, have some recipes that I've used for special occasions, along with some my mom left for me. So, putting them away in a nice little place would be nice.
 |
| It's one of these kinds of boxes. (I forgot to take a pre-photo of my own before I started this project.) |
But realizing this morning, that I've been fretting over a $2.50 box all year, I decided to make the sacrifice, and try for something in an espresso finish that I like. Even if I fo screw it up, it'll be a good excuse to go back to the craft store to get this mdf box that I saw...
What is my inspiration for working on this today? Looking for ideas on the web, and coming across a few recipe boxes that were probably purchased for the same price, done up pretty, and are now selling for almost $100.
(I'm sorry-- but really?)
You can find the basics on how to finish the box on here: http://notenoughcalgon.blogspot.com/2011/08/tic-tac-toe-apparently-without-kiddo.html . And don't worry if you don't get the perfect finish, because I didn't. It goes with the shabby/antique-y thing that's going on with it. (I don't have a printer, so I had hand-write the Recipe label myself. Again, that's alright too, because you don't want it looking like it came off an assembly line.) You can also customize it, by lining it with scrapbook paper. However, keep in mind that by doing so, it will take up some of the space for the cards. (Plus, you don't really see the inside of it anyways.) But it would add a nice touch to add on the interior of the lid.)
If you go to the craft store (Michaels or Craft Warehouse), you can find a lot of embellishments in the scrapbook aisle. For me, I already had a few small frames and then I found these utensils at the same time I purchased the box. (And of course, you can streamline it with borders, raffia, etc. But I did it minimally, because I'm actually going to use it, and had to consider it getting bumped with dishes, groceries, etc.)
 |
| (Hmm... I suppose you can even finish it by gluing balled feet on it. But I'm going to stop at here for now.) |
 |
| Using Glossy Accents, I dropped it over the 'Recipes' label, to protect the ink from ever running from exposure to water, etc. A project under $10 (if you don't have the Glossy Accents on hand), and just another idea on what you can do with those boxes at the craft store! Ps-- No fumes! |
Tic~Tac~Toe (Apparently Without The Kiddo!)

The other day, I saw a tic-tac-toe project at the craft store. It came across as intriguing (as it was only a few days before, that my daughter decided to raid my desk drawer of cardstock and play several rounds of the game herself (with one of her dolls). I viewed it as a neat project the kiddo and I could do together, so I bought a few things, and planned to put it all together this weekend.
But the thing is, my 5-year old is too girlie. This little thing does not run around our home like a normal kid her age. She pirouettes while doing it. For the past month, she hasn't been speaking to us in her regular teeny voice. She's been singing every word-- in vibrato. Everything has to be pink-- right down to the color of her toothpaste. (And she finds it comical that although Mommy finds it impossible to walk in anything higher than 1", she can parade around in Cinderella play heels like she was born in them. She particularly likes tapping in them as well (in the bathroom with the heatlamp on, which she calls her "spotlight"), which must sound absolutely lovely to the neighbors below.)
So back to this project. The moment I mentioned the word "glue", she gave me a look of "um... uh... I don't do glue". And because of that, I was given another project to do by myself. (Minus the "o" part of the game-- she did that herself to make it seem like she was involved.)
To do this project, you will need the following:

- Delta Ceramcoat Gloss Interior Varnish
- Paint or stain of your choice (I had some wood stain, that I added a couple drops of black acrylic paint to, to give off that hard-to-find espresso finish.)
- Glass (gawd! What are those things called? They're the ones that they sell in the bag, that you make magnets out of... can't think of it right now.)
- 1" paper punch (I got the Martha Stewart one, because I didn't want to mess with a cheaper one, and pay for it, by having the paper get all caught up in it.)
- Vinyl tic-tac-toe stickers (sold at the craft store with a website called http://www.vinylwords.com/)
- Decoupage glue (again, Martha Stewart)-- to glue the paper to the glass drop things.
- 1 4x4 piece of sheet metal
- 1 wood square
- 1 box (optional) for storage
- Scrapbook paper (to cover the sheet metal and line the box with) (Make sure that the background of the game and pieces are not to loud to distract the x's and o's.)
- Sandpaper-- fine grade
- (There should also be some round magnets pictured, to superglue to the back of the 'x's and 'o's, but I can't find them at the moment. I usually keep them in a desk drawer, but I found a couple of old cassettes from my high school days, that I didn't want getting erased by them with. So right now, I can't remember where they are-- just like my driver's license that I haven't seen since last Saturday!)
First what you want to do, is make sure all the sides of the wood are free of little splinters that will dry up hard, leaving a poor finish. So before you start, make sure they are sanded with some fine-grade sandpaper.
Paint or stain the wood pieces, in the style that you want. (To get fancy, you can paint it one color, then paint over it with another. And then with the sandpaper, run it across the edges and whatnot to give it a 'vintage' or 'shabby' look.)
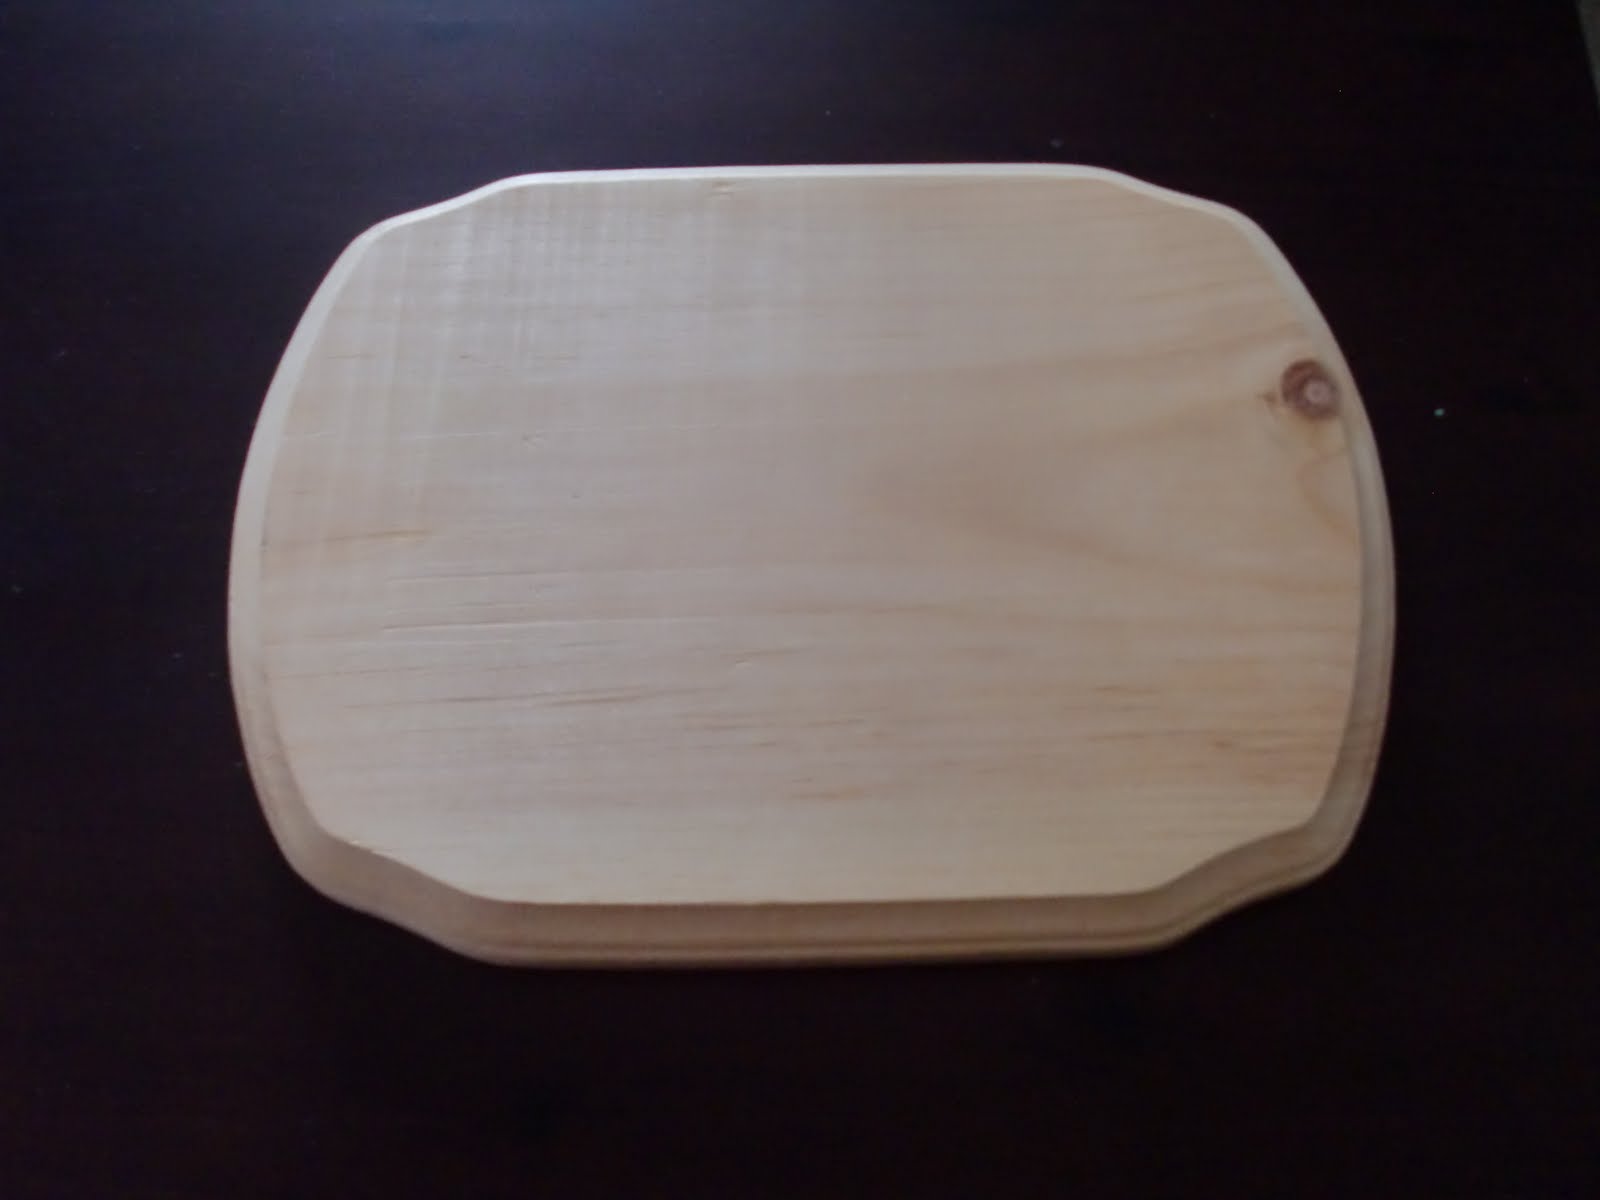
 |
| This is my workspace. The dining room table with an oversized cutting board that was too big for my kitchen. |
When the painting is finished, get a spongebrush (that I forgot to mention), and use it to glide the varnish across the surfaces, making sure there are no bubbles; about 3-4 coats. (While waiting for the wood to dry, cut and measure the scrapbook paper, gluing it onto the piece of sheet metal. And then punch out 8 pieces of scrapbook paper out (4 each of two different patterns), adding the x's and o's, and gluing them to the pieces of glass. When dry, superglue the magnets onto the back.)

When all is dry, your child might get upset at you, wondering why you didn't let them do all the painting. (Like mine just did a few minutes ago, while I was typing this up.) Ignore it, and tell them that you are trying to pay bills online, so they can see that you can't be bothered right now. (It wasn't going to happen anyways, being that there is carpet underneath this table!)
Anyways...
When it does get dry, glue the sheet metal onto the wood, and measure and cut (preferably using an exacto knife and a ruler) the scrapbook pieces to the interior of the wood box (if you're making that, too).
This project took about a couple hours to do (because of the drying time involved). But if you have ones that are a little bit older, it might be a neat project to do to give away as a gift, or a display piece.
With that said, goodnight!
Living Vicariously Through My Daughter's Toys

As a mom, it is my job to come up with fun ideas for my 5-year old daughter to do, so that she'll be able to fondly look back on her childhood, and not be able to recollect a single "I'm bored" moment. (And where I can look back without having to encounter all of the you-never-did-anything-for-me's and I-hate-you's that I have, when my oldest became a teenager!)
It was last Easter, that my youngest began this collecting obsession with a doll line called Lalaloopsy, after the Easter Bunny missed the boat on a miniature version, named "Cotton Hoppalong" to throw into her basket.
These creepily adorable little things with a blank stare and empty smile, look like the spawn of that "Other Mother" character from that movie Coraline. I've been caving though, and making sure my daughter is all caught up on this little collection. And it's because of this, that I thought how nice it would be to work on a dollhouse project with my child.
So, I went to the local Michael's and came home with:
- Creatology 'Dollhouse With A Veranda' ($8)
- A bag of sparkly jewels (from the back wall) (@$3)
- 3 tubes of acrylic paint (for the roof, trim, and body) (@)$3)
And from another store (the one where they are known for lower prices):
- One can of Minwax Polycrylic Spray ($10)
- Fabric biased tape (to cover corners and rough edges) (@$2)
- Paint brushes (@$3)
- Superglue (@$2)
- Ribbons, miniature roses, buttons, etc. to dress it up
Other things to have on hand: Exacto knife, nail polish remover (to loosen up the superglue, when at 2am, you realize that you poured half the tube into your palm),
Punch the pieces of the puzzle out, and lay them as they were in their original frame:

Begin, by painting the pieces of each sheet with 2 (or 3) coats of acrylic paint. (Making sure you do the backs of the railings and trims, as those will be in view, once the house is completed.) After the paint is dried, spray 3-4 coats of the polycrylic over the pieces. (Do you remember how scratchy the art projects in elementary school felt with acrylic paint? This process will smooth it over.) This part will probably take about 3-4 hours-- especially if the puzzle is already looking greek by now! (By the way, acrylic paint is totally washable from finished surfaces-- like my wood table, as I found out. But since I have a carpet underneath it, this project ended up more as a Mommy one. ("You can help by decorating it with your furniture" I had to tell my 5-year old.)
When the paint is dry, grab the floor, ceiling and wall pieces and your scrapbook paper. Piecing together where the walls will run, measure and cut your scrapbook pieces out, gluing them down. (Double--no. Triplecheck your placements, making sure you are not gluing a floorpiece to a ceiling!)
 |
| You'll see how you'll need some bias tape to get all the gaps that show. |
What I found by finishing the pieces before assembling does, is that it provides a tighter fit, so the pieces don't fall apart once you pick it up. (Hence why this is my 2nd house-- not the first! ;) When I finally put the little wood locks in place, I was then able to decorate the house until 3am. Suffice it to say, I ended up getting three hours of sleep, because at 7am, my daughter came in, wondering why I wasn't awake yet.
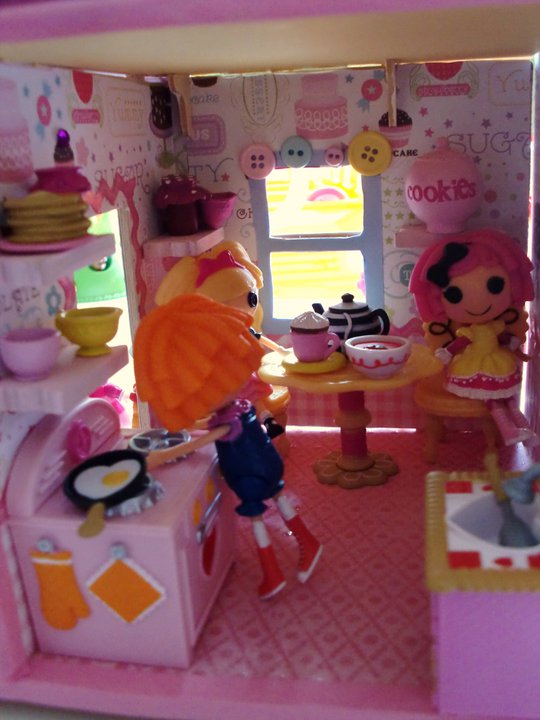
But here is what the interior looks like:


For the $8 base price (which is all I had to pay, because I already had the other stuff laying around from another hobby that didn't take off-- scrapbooking), it's not like you have to worry about messing up too badly on it (like an expensive kit). But it's something to help jump-start the imagination, where your child can customize a dollhouse into something of their liking without breaking the bank.
Have fun!
(**Note-- The front door actually had to be cut out, with scissors, as it doesn't come with an opening for one. To do this, match the door piece up with the windows, and trace it. And carefully, cut the opening out.)