Tuesday, November 29, 2011

Easy Peasy And A Break From The "How Many Days Until..."

Click image for larger view

So, my neighborhood's Christmas tree lighting festivities begin this Saturday.  My kiddo's so excited, because they're having carriage rides, cocoa, treats, and of course, Santa.

Since telling my daughter about this (and how she has to be good in order to go), I have been asked at least 100 times since last week...

"Has it been 9 days yet?"  "I made my own calendar..." (from which she shows a few boxes drawn on a piece of paper, with check marks in some) "...did I do it right?  It says that we only have two days left."

Sigh.

Since my kiddo is in kindergarten and is enrolled in an online charter school, I haven't seen those paper rings that we as kids used to make this time of year, as an assignment in her lesson plan.  And with all of the things she's been learning in these few short months, I thought to kick them up a little notch.

Like writing the day of the week, along with the full date on each ring.  That way, she can learn to recite, and see how dates are written out, along with getting that pattern with the days of the week down.

I also can write down events happening on particular dates, so she doesn't have to jump around me every second of the day like a little puppy (bless her!), saying "when-- When-- WHEN-- WHEN?!?!?!?!?!"

Supplies Needed:
  • 3 sheets of construction paper-- any color, of course!  Cut them lengthwise, into 1" strips.
  • Stapler
  • Pen
  • Embellishments (stickers, etc.) if desired
About a 1/2 hour later, voila! 

Thursday, October 13, 2011

Halloween Jack-In-A-Boxes For Under $2


Okay.  I'm running a little late on Halloween.  (As the lack of creativity should show, as I didn't doll up my kiddo's hair in the pics, nor did I create this beautiful vignette to display this project.  I just hurriedly got it done so I could post it on here!)  But this is nothing new though.  In fact, I still have a gingerbread kit from last Christmas that was going to end up as a candy heart village for Valentine's Day, an Easter Village a few months later, and now it looks like it'll end back up as one for Christmas again.  (Fortunately, it's still intact and nothing has molded!)

Anyways, this project for my kiddo is something that I've been planning to do for the past month, but haven't gotten around to do yet, since other things keep getting in the way.  (Like that couponing thing I was mentioning!)

However, I "pinky" swore to my daughter that we would do it today, on the account that her room got cleaned up.  (Yeah-- right!)  So, while she's supposedly in her room-- cleaning right now (aka, watching cartoons, where I'll say "can I check your room" and she'll reply "not yet!  I'm almost done though"), I'll blog how this project turned out.  (It's really quick, as it only took us about a half hour to put all this stuff together.)

First of all, you'll need these supplies~


  • 3 Craft blocks (They usually sell three for $1.)
  • Paintbrushes or Spongebrush (With a 5-year old, I learned the spongebrushes work best.)
  • Construction paper
  • Acrylic Paint (Which usually runs 2 for a $1.)
  • Glue stick and/or double-sided tape (not shown, because I forgot to include it in the photo)
The first thing you want to do, is paint your blocks.  Acrylic doesn't take that long to dry, so they'll be holdable after about 10 minutes.

I'm surprised she wanted to participate.  Usually, she's concerned about getting her hands dirty.

 While you are waiting for the paint to dry, cut out two strips of paper (about 1/2" wide, and the entire length of the piece of construction paper (11.5").  Using a glue stick (or double-sided tape, to avoid frustration), make a "V" like this:


And overlapping back and forth, keep going, until you reach the end.  (You might need to trim off a little excess of paper at the end.)  Fasten with the glue, or the double-sided tape, and you should end up with this~

Such a dorky smile!  "No.  It's not an accordian for your Barbies!"

Afterward, cut out shapes (like ghosts, pumpkins, bats, etc.), making sure that you leave a tab at the bottom, to fold under and glue to the 'spring' that you just made~


Since this is a project for my 5-year old, I can't get all elaborate, making these darling, like something you'd see from those vintage decorations from the 1900's, etc.  So because of that, I have to make this project as simple as possible. 

To make the lid, get a piece of construction paper, and cut a rectangle that can be folded over.  (Cut it to the size of the block, of course.)  I had a hole puncher, so I just punched out a couple holes from the other paper, for my kiddo to glue on. 


And, when you've got the lid attached (through a rubbed on dab of glue stick), glue the bottom of the spring, and attach to the block~


And look at the insane joy this can bring to a five year old child!

Happy Crafting!

Photobucket

Monday, October 10, 2011

Couponing-- Who Knew It Could Be So Addicting?

It's been a couple weeks since I've done anything on here, and I have a reason.

Clipping coupons.

It's been so bad, that my 5-year old says I need to go trick-or-treating as one.  But if you haven't tried it yet, get a Sunday paper, and go through the coupon insert sections.  Did you know that you could not only save what it says on the manufacturers' coupons, but (what they refer to as) "stack" them with the stores' coupons, thus saving more?  Even getting them for free by taking advantage of their 'buy 1 get 1' offers.  You can also add those deals onto the stores' deals (like Walgreens' Register Rewards or Rite Aid's Up plan, and get money back to spend on other items in the store. 

I mean, check out this video from Hip2Save's trip to Walgreens:


(Do you hear how fast she's talking?  It's from the adrenaline rush you get from all the savings!)

I'm amazed at this! 


(Check out the part at frame 5:00, where she's at Toys 'r Us.  Do you see how she was able to take advantage of a 'buy 1 get 1 free' promotion in the store, and stack it with a paper's 'buy 1 get 1 free' coupon?  She totally saved $11 doing it!)

So for the past couple of weeks, that's been what I've been trying to do.  My biggest save, was going to Rite Aid, and purchasing $32 worth of makeup, using their Buy One Get One 50% off and an two $8 off of two coupons.  (If I had bought eyeshadows instead of powders, etc. I would have got them for FREE!

Incredible!

I could have been saving money for craft projects-- or just putting the money away in savings all this time!

If you want to try this out, check out The Krazy Coupon Lady's(https://www.facebook.com/#!/TheKrazyCouponLady), Totally Target ( https://www.facebook.com/#!/pages/TotallyTargetcom/213500492508), and Hip 2 Save's (https://www.facebook.com/#!/Hip2Save) profiles on Facebook.  Click 'like', and every hour, you'll get updates on how to put your coupons to work.  (There are other couponing sites around, but I'm still learning, and sometimes, they are named in the deals that the aforementioned put up.)

For those of you who missed out on Sunday's paper, but still want to get in on the action, you can, but your choices will be a little limited.  (As in the good deals on the good stuff are in the Sunday paper.)  These sites can be found at http://www.smartsource.com/ and http://www.redplum.com/.  There are other sites available (like the grocery stores, for example), but they usually have the same products that these other two have, since they are the main coupon providers. 

A rule of thumb to go by, as you see these deals, is that you may notice how the stores are having sales with the same products as the coupons are for that week.  It's not coincidence, but a strategized marketing tactic.  They want for you to use these coupons with their sales.  That way, when you blow them all that week, they can do the real markdowns later on, and that's where you lose out on making your steal.  So if the deal doesn't sound that great-- put the coupons away for later.  It's a gamble, but as I'm learning, I'm seeing how this is the general rule.

So, I will try to get back on here by the end of the week for some projects, but right now, I totally need to do some shopping!

(**Note:  These sites will ask you to download their 'printer'.  I was reluctant to do this at first, but I realized that it's the company's way of keeping track of how many coupons are being printed.  And also a word of warning, I found out that it is against the law to reprint coupons on your own, as it is viewed as coupon fraud.)

Monday, September 26, 2011

As Fall Arrives, Make The Mercury Rise!

I've been walking into a few stores lately, where I have seen mercury glass amongst their displays.  It's very pretty-- yet very expensive.  (Ironic for something formerly referred to as Poor Man's Silver.)  I found out that mercury glass was introduced back in the 1840's, where its popularity started to fizzle out in the 1930's.  (And the glass wasn't really made out of mercury.  The glass would be double-walled, where a silvering solution would be applied in between (usually made of silver nitrate or sterling), and then closed up at the bottom of the piece.  It was only named mercury because the element was used to make the reflective surface of mirrors with at the time.)

Anyways...

Pottery Barn offers a few of these items, however, they are mostly sold out~

Antique Mercury Glass Pumpkin

Serena Antique Mercury Glass Hurricane Lamps
And not bashing Pottery Barn-- because they INSPIRE me...  but you can come across unfinished hurricanes at a craft store for $20 or less.

Mercury Glass Ball Ornaments, Set of 6 - Silver & Gold

And again, it's not something I can really afford.  And never mind my five year old, it's my husband whom I always have to worry about destroying my objects de art with.

Because of that, I've been left to only walk by those displays, putting them on the shelf of my dreams-- along with the house that I would put them in.

But last week, I came across a website, offering a tutorial on how to make the glass.  They seem to be very detailed in the tutorial, and because the holiday season is approaching, I wanted to share it with you asap!  The site is http://lovelylittledetails.com/2011/04/07/guest-post-diy-mercury-glass-tutorial-kelley-maria/.  (I would love to post her photos of how her work turned out, but I notice that there is a "©" on a photo, so I wasn't sure of the legalities (if any) there were of copying and pasting.)  But with the one (or rather dozens) of vases all of you must have, laying around in the back of a cupboard, it might be interesting to give this project a shot.

Isn't that such a great idea though?  And this process can be used for just about anything, and not just seasonally! 

Wednesday, September 14, 2011

Not George Michael's 'Different Corner', But Good Enough!


So today, I went venturing all over, looking for something to fill the corner of my apartment's kitchen.  I was tired of seeing my husband's coffee stuff all over the place, and was on the hunt for a more organized look, than what I had going on here~
You can't see the right corner very well, but it consisted of my mother's 50 year old spice rack, and all of his coffee stuff that he piles in the corner.  And P.S.-- I got rid of those ugly lamps! 
I went to IKEA, where I saw some shelving online for a cheap $6.  However, when I got there, I realized that the length was much too long for what I was looking for, and that they didn't have anything else there that was shorter.

Then, I went to Home Depot.  I found some crystal knobs that were about two weeks too late for another project, but that was it.  (When I had asked an employee about where to find wall shelves and brackets, he pointed me to an area of the store where I could hear someone sawing something.  NOPE!-- not wanting to make a big project over something I didn't want to spend the entire day on.)

So, as a last resort, I hit my local Craft Warehouse.  (The more I look online, it seems that the closest thing that comes to it, is some place called Hobby Lobby, for those of you who don't have a Craft Warehouse.)

No shelves.  Nothing that could clean up that corner, making it look a teeny tiny bit like Central Perk from Friends.  But I found a couple little plaques, that were just the right size for the shelves that I wanted.  And then I picked up some wrought iron hooks, that I mistook for brackets~
I still need to stain them, but they work, yeah?

Just the right size for the small wall space!

Overall, it cleans up the clutter.  Eventually, I'd like to get some kind of coffee and tea canisters (like something below), to put on the counter (as I only used the cake stand-- and the muffins I just finished-- at 11:30pm), for this photo's sake.

I saw this at Target, but opted for the "Oh Snap!  I forgot!" Missoni sale that hit the same day instead, getting my 5-year old a dress that sucked up my-money-for-the-rest-of-the-week fund.
                            

But with that said, I have an alarm that goes off at 7am, so bon nuit!


Tuesday, September 13, 2011

What To Do When You Get A Printer!


First of all-- COUPONING!  However, when your dreams of saving millions of dollars are quickly dashed (as you realize that sites require you to download their 'printers' where a box then comes up, saying that your settings are blocking your 50-cents off International Delight Creamer coupon from printing (and you don't know how to reconfigure something called Java), you look for other things to do with it instead.

The other day, I went out and purchased an HP Series 2050 printer for $39.99.  (There was another one that was $29.99, but I thought I'd get a more deluxe model.)  After nine years sans printer, these things have changed!  As in scanning!  I didn't know these things could do that now.  So I was scanning old pictures and printing them out, and all of these other things.  And then...

I ran out of ink.

But that was alright.  Yesterday was my birthday, and my husband (who didn't do anything for me this year-- just like last year, when he went out shopping with his mother that day...  oops.  Sorry.  That would be under the 'ranting' tab I have on here.  But really.  I've been wanting a Coach purse for the past five years.  And here he was last night, eating a hot pocket in front of the tv, which signaled no birthday dinner...), could buy me a $13.99 replacement cartridge).  So all's well at the moment.  (That is, until the color cartridge starts giving me issues.)

Anyways...

I'm trying really hard not to make my place go down 'Scrapbook Alley'.  But it's hard, when I've got all this extra paper and whatnots on hand, and then come across a loose board in a box (when my husband got bored, and tried a 20-minute stint at woodburning a couple of years ago, and it didn't turn out like the masterpiece he thought it would).

(It was similar to that depicted below, but a rectangular one.  I just didn't take a pic of it, because my camera was dead, and like I mentioned it was part of my husband's project, where there was a goofy looking picture of a rabbit and a duck that he attempted, before tossing the $40 purchase in his toolbox and never touching it again.)


But I painted the edges of it, and used some of that Martha Stewart decoupaging glue to fasten a sheet of scrapbook paper onto it.  Having done so, I wanted to add a printed picture of something I got off of an art site.  However, it just didn't look right, and I peeled it off-- taking pieces of the $1.99 scrapbook paper off with it!  I didn't fret though-- if you look at it, it's starting to give off a shabby appeal-- like peeling vintage wallpaper:


After finding and printing off a piece that I thought wouldn't look too bad, I proceded in decoupaging tissue paper (to match the blue in my home), onto the white areas of the paper.  Then, I went on, decoupaging the print onto the board:


You can go the next level up, and apply that lacquer glaze (that they sell for about $10 and up).  But since I haven't attempted anything like that yet, I am not really ready to try on this project.  (I might later on.)

But just an idea of what to do with some leftover whatnots...

504 Main


Sunday, September 4, 2011

My Husband Probably Isn't Going to Like This Very Well...

But that's okay-- because the only time he's in the kitchen, is when he's heating up a hot pocket, or going to the refrigerator for something to drink.

As my other posts state, I live in an apartment, where (unless you are living in a condo), you can't really do any serious demolition and remodeling to keep up with your friends on facebook with.  Because of this, I've had to endure a few years of apartment depression.  For those of you who have caught it, you know the symptoms.  Trying really hard to emulate something out of the latest Pottery Barn catalog.  And then on a drag-along trip to the Salvation Army (I'm just using that store as an example, to illustrate my point), you've realized that their store has a vignette with beauty and creativity that surpasses your spent-all-my-tax-refund-money-at-Walmart (because you thought by cutting corners you'd be getting ahead with a few bucks leftover), and-it-still-looks-like-crap college try! 

So, for the past few years (-- actually, since 2005), I've had this setup above my stove~

And I wanted something different.  I was thinking of a silver tray (like in a previous post on my 'Ideas' tab), or a mirror.  But as I was looking at trays, I was also looking at the pricetag.  For something that might get an occasional splatter, I didn't want to go anything above $10.  And the mirrors that I was looking at, were too heavy and running about $20.  (I would have liked the reflection of light coming from it, but then again (and talking myself out of how great of an idea it would have been), who wants to be finding flaws with themselves, while cooking chicken alfredo?)

So, I opted for this idea.  And actually, it did come under $10.  There is this store called Craft Warehouse, which I absolutely LOVE!  Unlike Michaels (which can get a little spendy),  Craft Warehouse has a lot of the extras (as in-- let's be honest-- NEAT and CHEAP CRAP!)  You can find frames with orange clearance tags on the back.  Vignettes with bell jars and floral accessories all over the place.  Lit cherry branches strung over arbors, etc.  So, I found a $7.99 frame, and a .59 sheet of scrapbook paper (since I have that robin egg blue color going on in my home).  And obviously, you don't have to do this project to hide an area above your stovetop.  (A wall in the bathroom, bedroom, etc.  But like I said, my husband isn't going to go for this all too well in the kitchen when he comes home, but oh well...)

Here are the supplies needed~
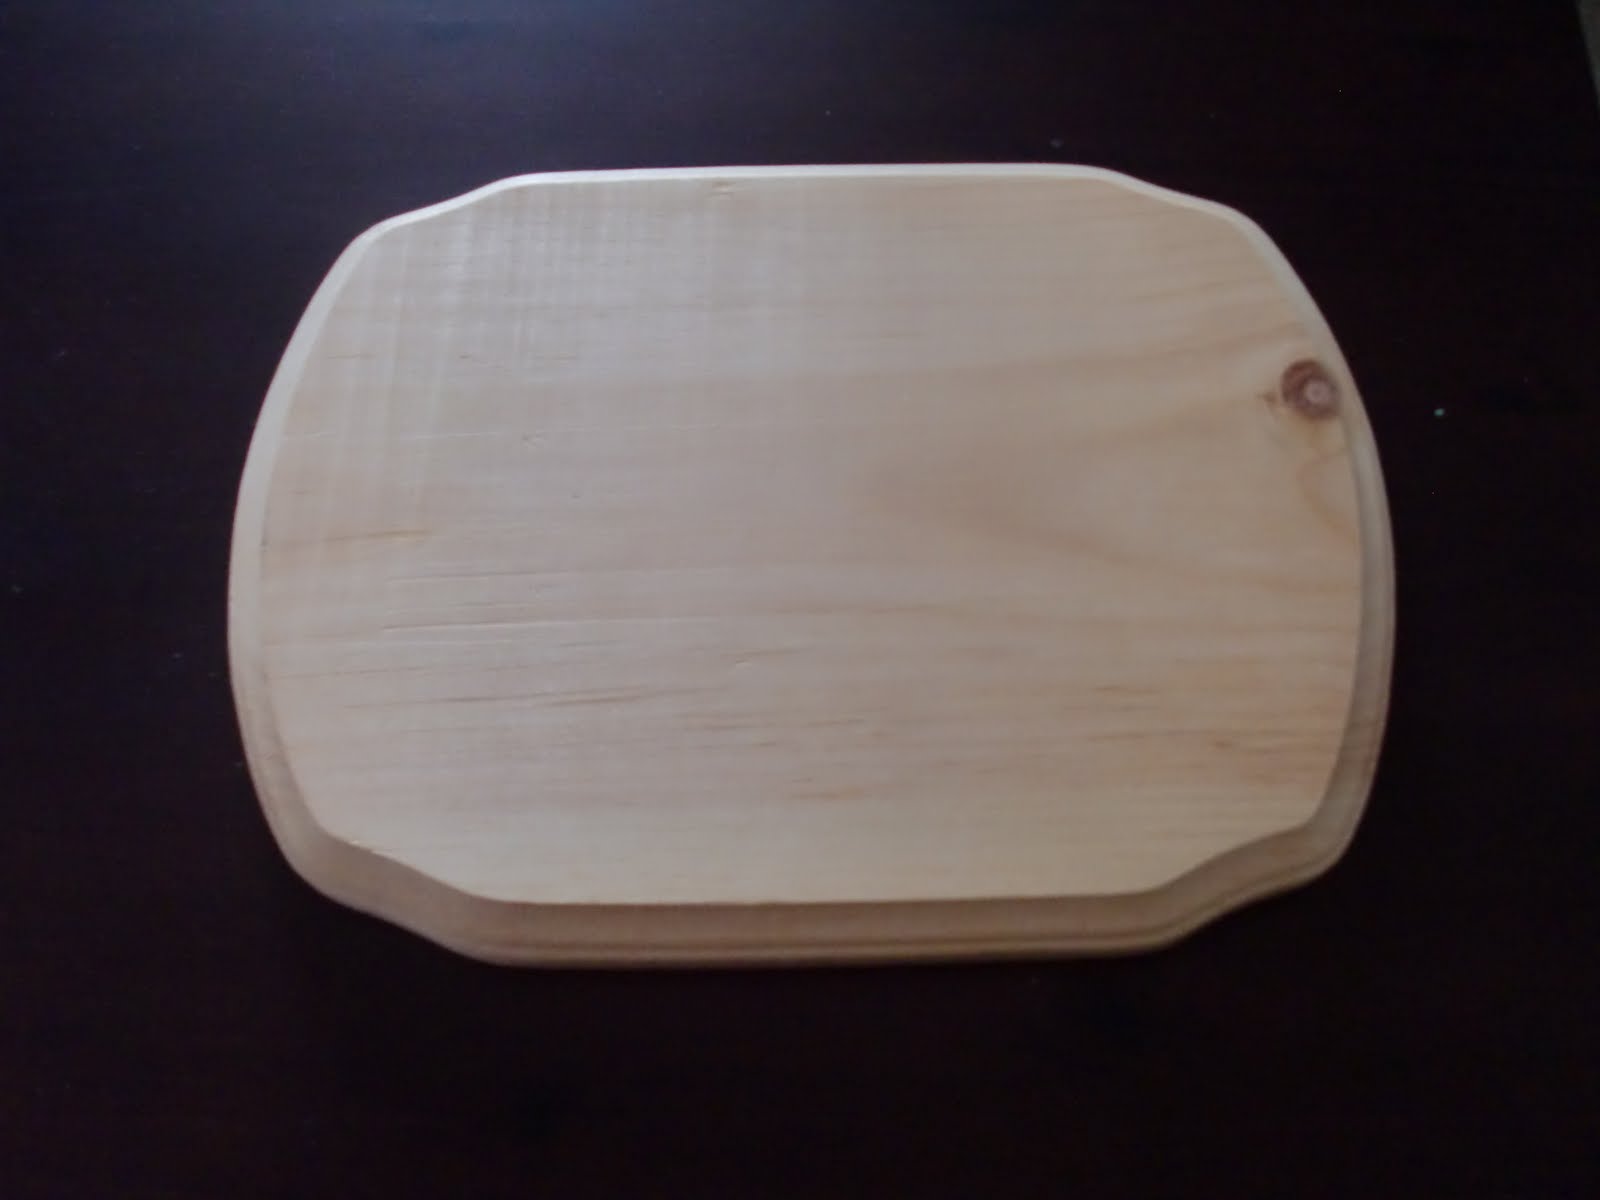
  • Frame with glass insert
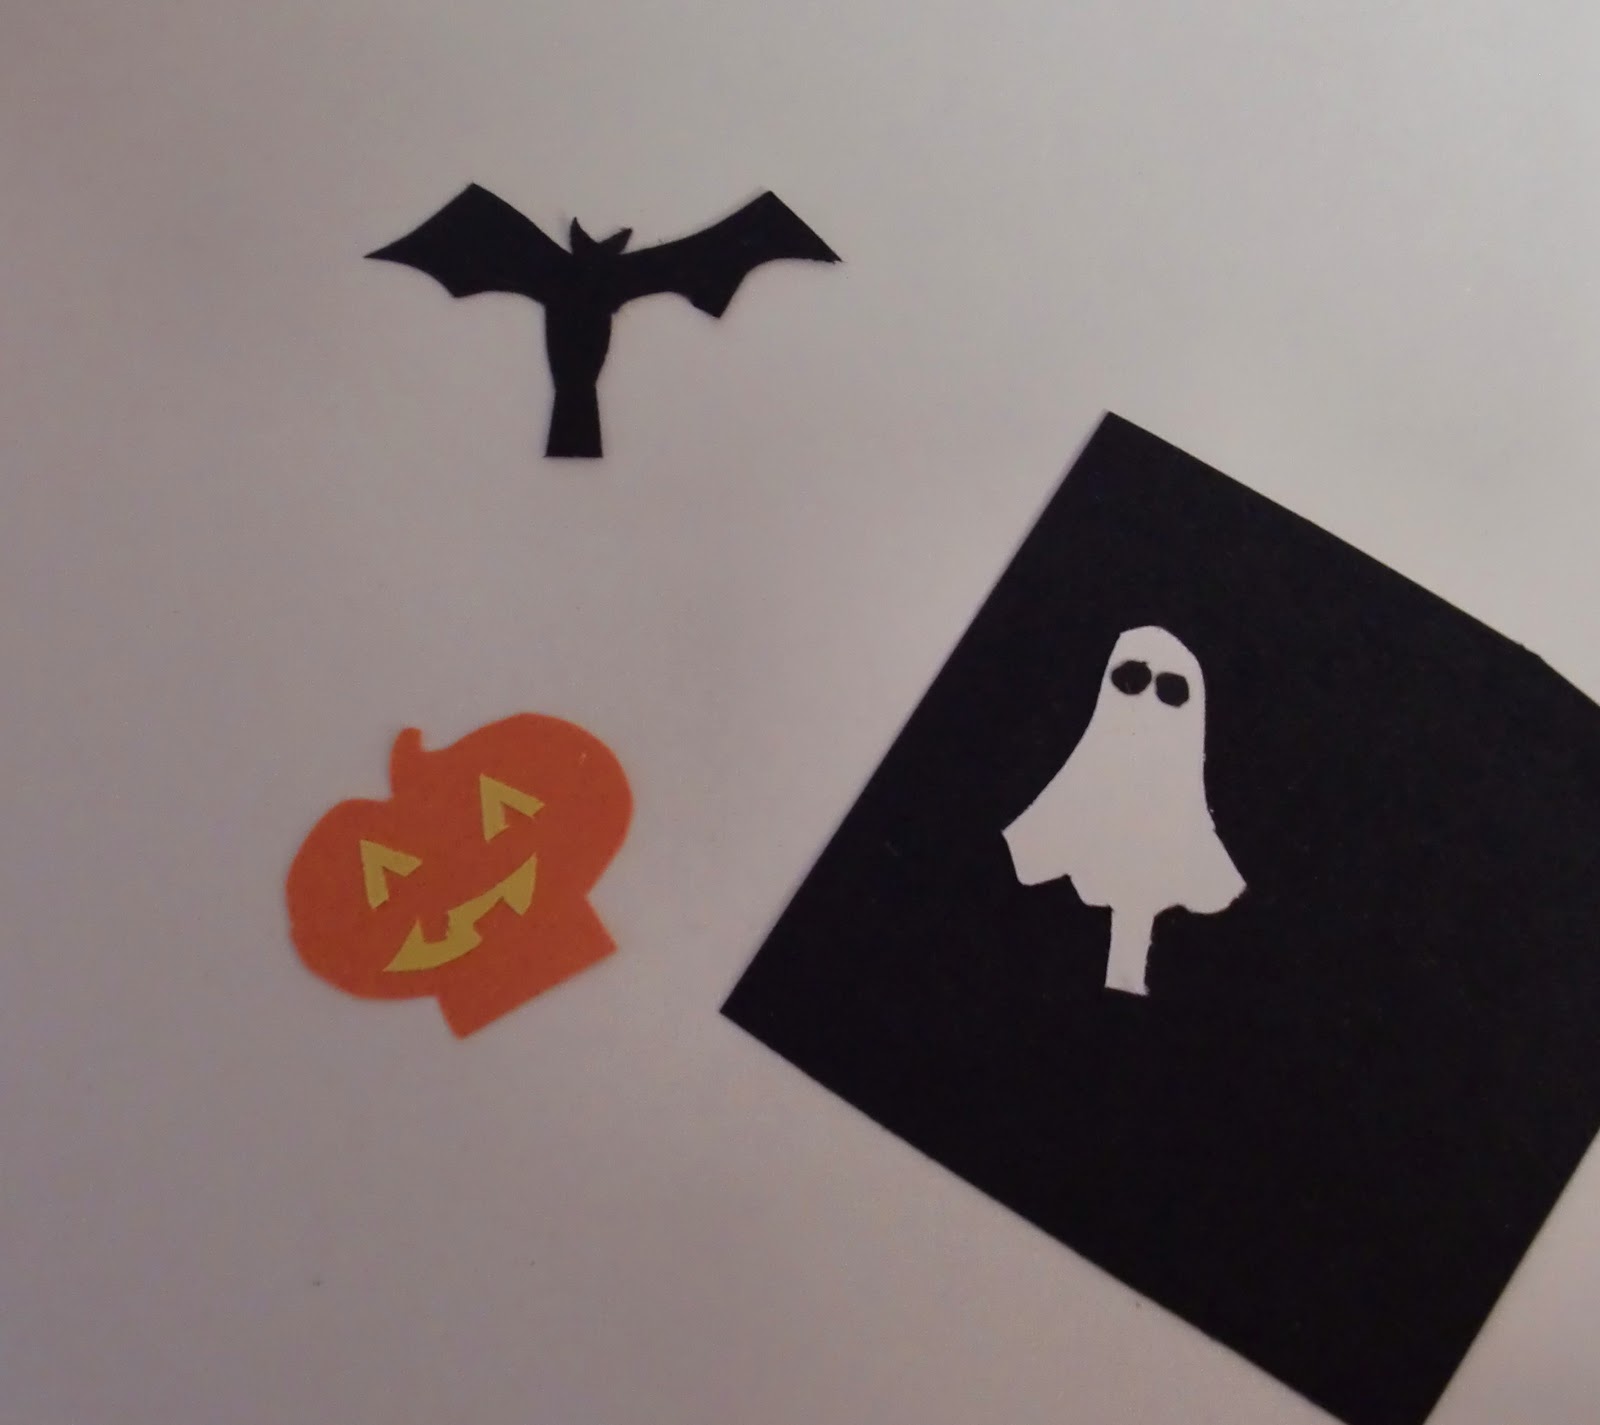
  • Stencil (if preferred-- or you can use whatever you want to embellish it with.  I was in a hurry-- so I just did what I did)
  • Sponge brush and acrylic paint.  (You can probably use any other media, such as pens made from glass, glass paint, or even those vinyl stickers (which are expensive!  Something like $6!), etc.  Being that I had black acrylic around (and it's ERASEABLE like a dry erase board-- perfect for people like me who can't make up their minds), I decided to use that.)
  • Adhesive (I chose to use rubber cement, in the event that I ever decided to change my mind on the background and needed to take it off gently.)
  • Any kind of embellishment or border for the frame (if you are not going for the minimalist approach.  I happened to have some border stickers in a scrapbook, so I decided to use those).


If anyone is wondering about the scrapbook paper, I took a closeup shot of the label.

Okay.  First what you need to do, is cut your paper to fit the area of the frame.  DO NOT glue anything down at this time.  Flip your frame over to the backside, and place over the paper, to find your center point for your stencil.

Tape your stencil onto the back of the glass, and with a LIGHT dab of paint on your sponge, tap at the stencil, being careful not to cake it onto the glass.  (If you do, it will smear all over the place, and you will have to wipe it off and start over again!)


Lift the frame now and then to see your progress and if you missed any areas.

When you are finished stenciling, you may want to go over with a cotton swab (with the bulk of the tip pulled off-- for precision), and take off smears here and there.  Personally, I was thinking that it was had a vintage 'stamped' look going on.
 Afterward, apply your adhesive to the back of the frame, and attach your scrapbook paper backing to it~


Flip over to the front, and apply your border, or whatever embellishments you would prefer.  (Sparkles, etc.  But as I said, my husband probably isn't going to swoon over this, and I don't think adding hot pink rhinestones would make him change his mind any more!) 


This project took me less than ten minutes to complete, and for the look, it's not too bad!