

Okay. I'm running a little late on Halloween. (As the lack of creativity should show, as I didn't doll up my kiddo's hair in the pics, nor did I create this beautiful vignette to display this project. I just hurriedly got it done so I could post it on here!) But this is nothing new though. In fact, I still have a gingerbread kit from last Christmas that was going to end up as a candy heart village for Valentine's Day, an Easter Village a few months later, and now it looks like it'll end back up as one for Christmas again. (Fortunately, it's still intact and nothing has molded!)
Anyways, this project for my kiddo is something that I've been planning to do for the past month, but haven't gotten around to do yet, since other things keep getting in the way. (Like that couponing thing I was mentioning!)
However, I "pinky" swore to my daughter that we would do it today, on the account that her room got cleaned up. (Yeah-- right!) So, while she's supposedly in her room-- cleaning right now (aka, watching cartoons, where I'll say "can I check your room" and she'll reply "not yet! I'm almost done though"), I'll blog how this project turned out. (It's really quick, as it only took us about a half hour to put all this stuff together.)
First of all, you'll need these supplies~
 |
- 3 Craft blocks (They usually sell three for $1.)
- Paintbrushes or Spongebrush (With a 5-year old, I learned the spongebrushes work best.)
- Construction paper
- Acrylic Paint (Which usually runs 2 for a $1.)
- Glue stick and/or double-sided tape (not shown, because I forgot to include it in the photo)
The first thing you want to do, is paint your blocks. Acrylic doesn't take that long to dry, so they'll be holdable after about 10 minutes.

 |
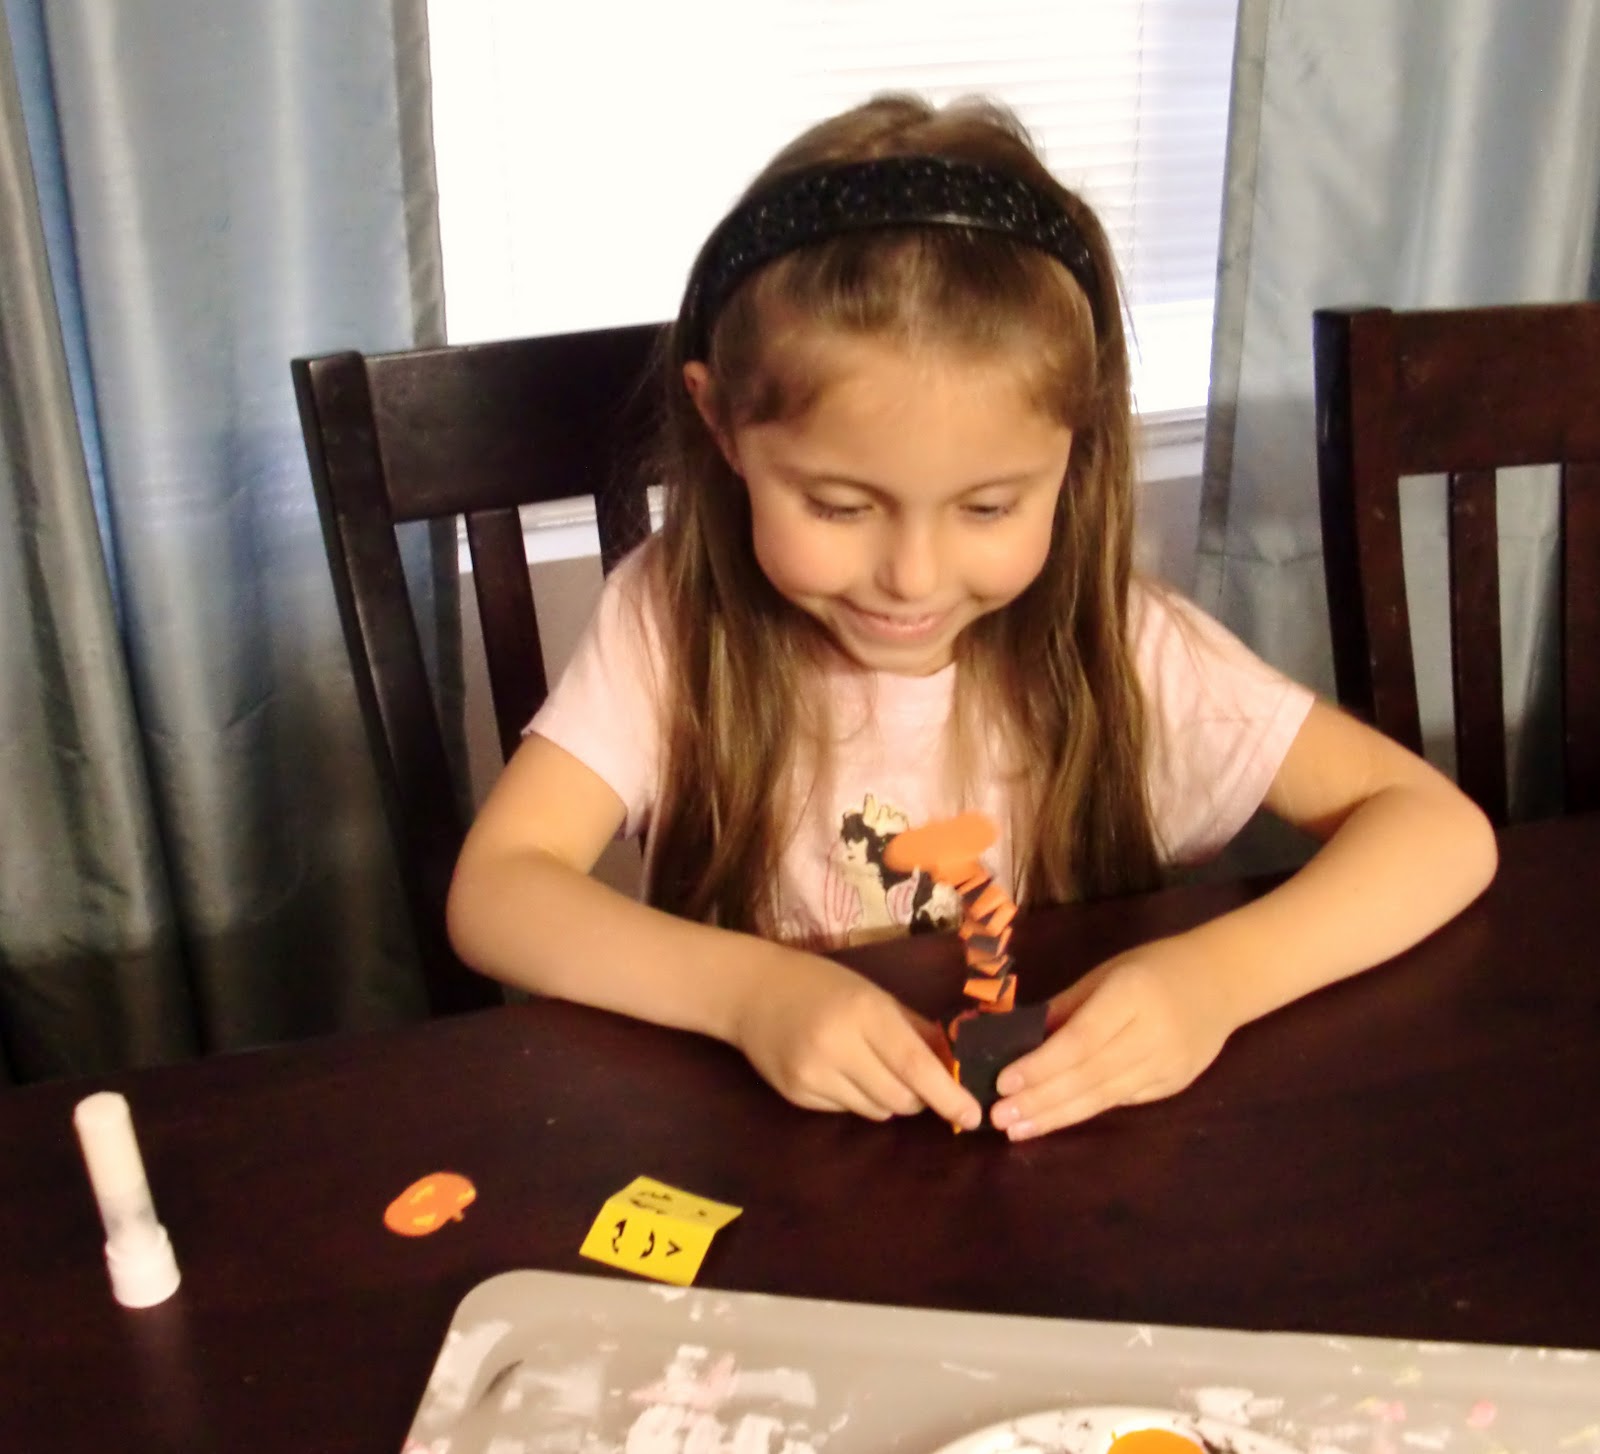
| I'm surprised she wanted to participate. Usually, she's concerned about getting her hands dirty. |
While you are waiting for the paint to dry, cut out two strips of paper (about 1/2" wide, and the entire length of the piece of construction paper (11.5"). Using a glue stick (or double-sided tape, to avoid frustration), make a "V" like this:


And overlapping back and forth, keep going, until you reach the end. (You might need to trim off a little excess of paper at the end.) Fasten with the glue, or the double-sided tape, and you should end up with this~

 |
| Such a dorky smile! "No. It's not an accordian for your Barbies!" |
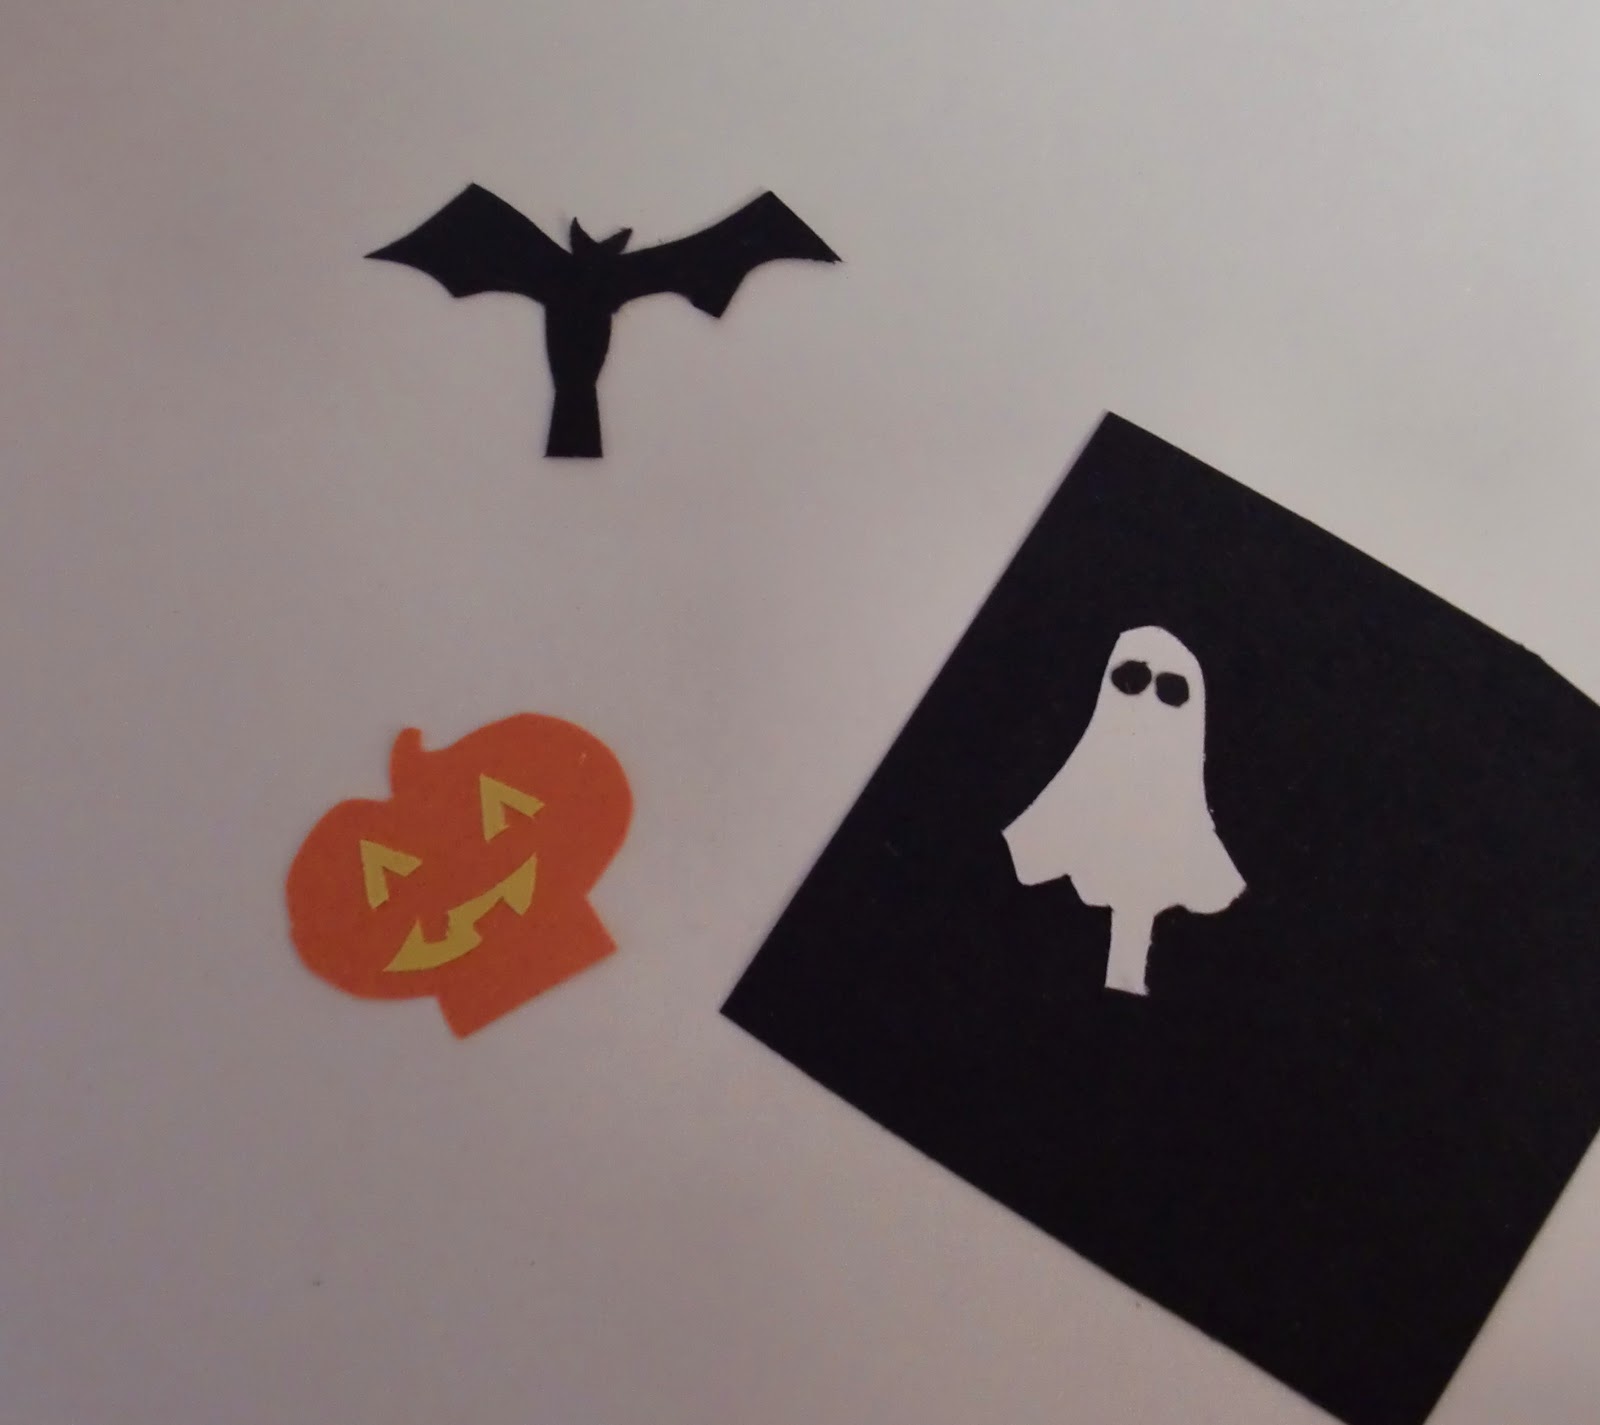
Afterward, cut out shapes (like ghosts, pumpkins, bats, etc.), making sure that you leave a tab at the bottom, to fold under and glue to the 'spring' that you just made~

Since this is a project for my 5-year old, I can't get all elaborate, making these darling, like something you'd see from those vintage decorations from the 1900's, etc. So because of that, I have to make this project as simple as possible.
To make the lid, get a piece of construction paper, and cut a rectangle that can be folded over. (Cut it to the size of the block, of course.) I had a hole puncher, so I just punched out a couple holes from the other paper, for my kiddo to glue on.


And, when you've got the lid attached (through a rubbed on dab of glue stick), glue the bottom of the spring, and attach to the block~
And look at the insane joy this can bring to a five year old child!
Happy Crafting!

I love your jack-in-the-boxes! The photos turned out great too. Something rather whimsically Tim-Burtonesque about those guys, and the glow of the candles in the background created wonderful ambiance!
ReplyDeleteJenn